
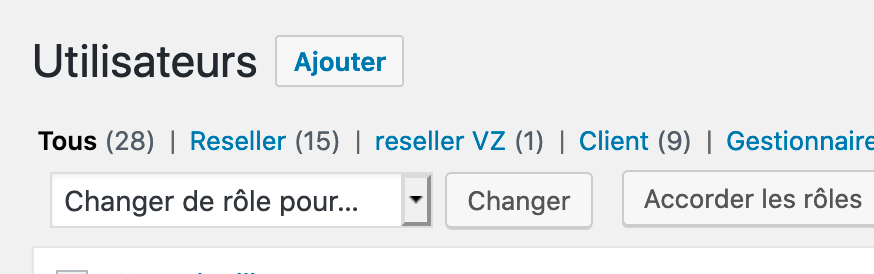
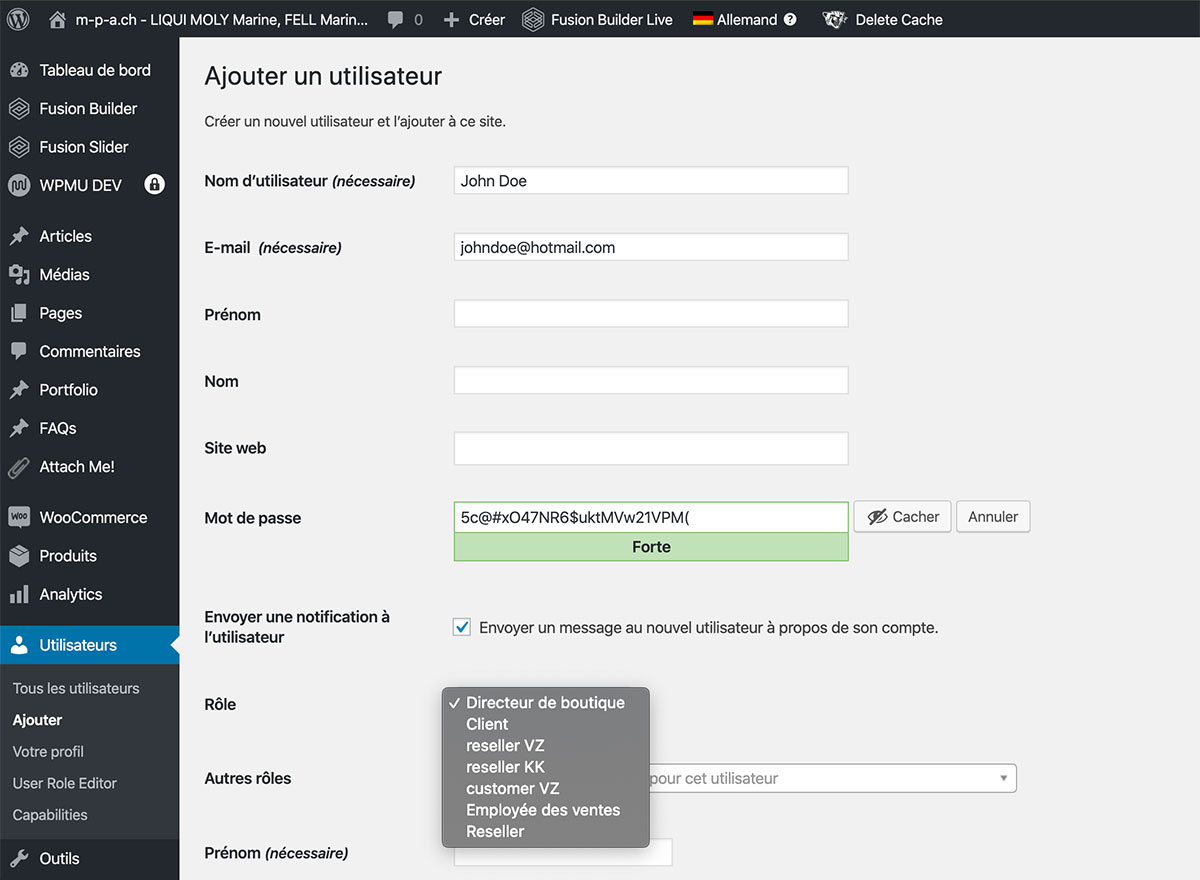
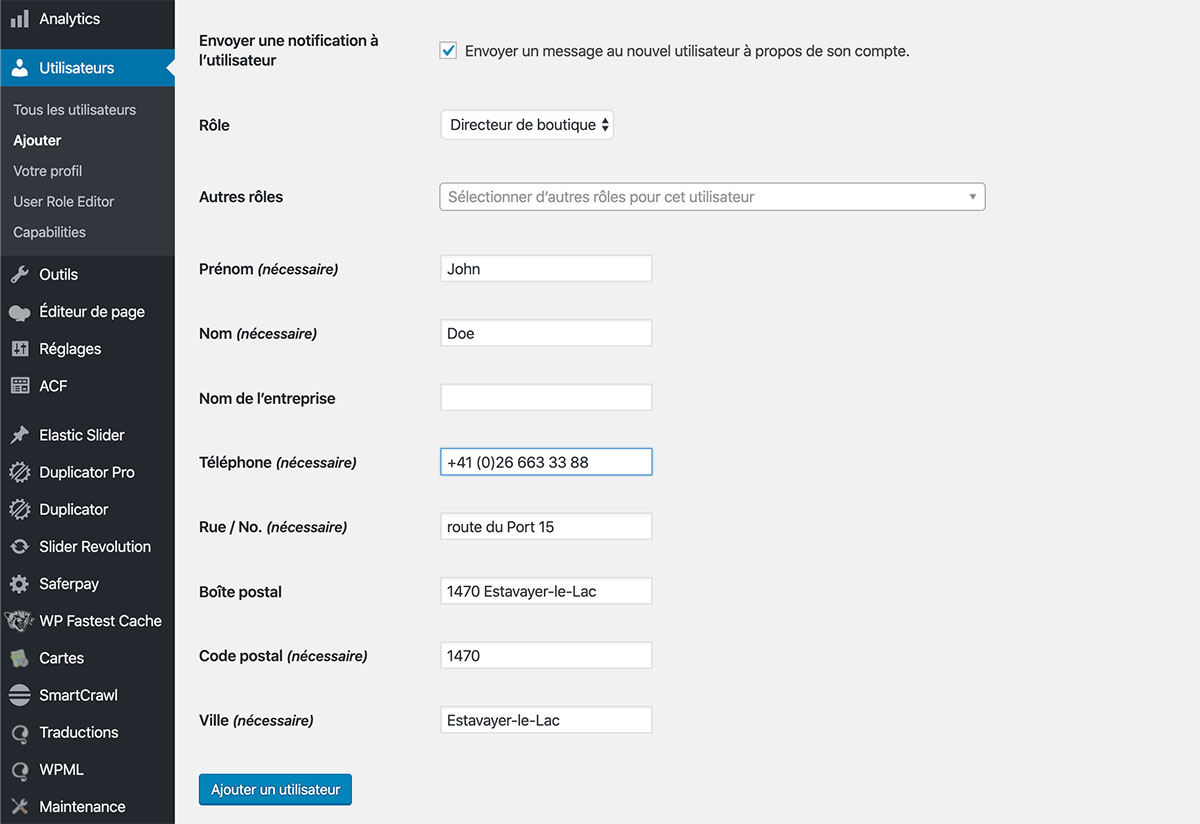
- saisir un nouveau client avec autorisation de remise
- enter a new customer with discount authorization
Erstellen eines neuen Kunden mit Rabattberechtigung
Create a new custmer and assign a discount
Créer un nouveau client et lui attribuer une remise

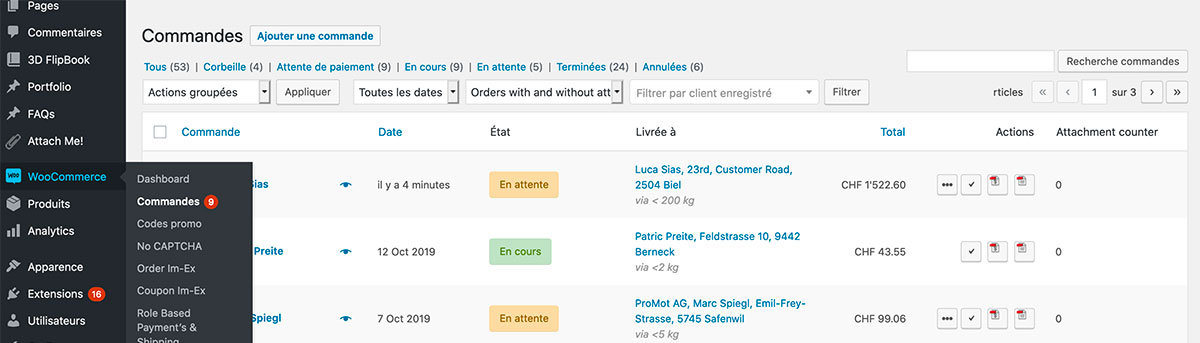
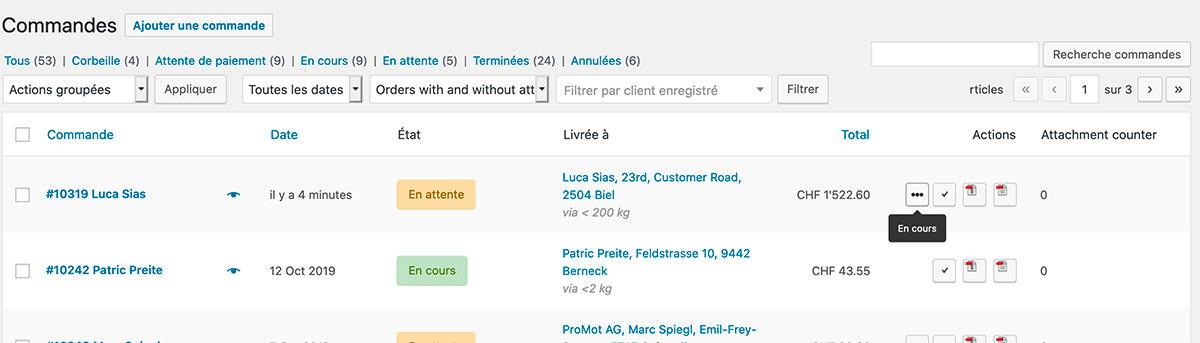
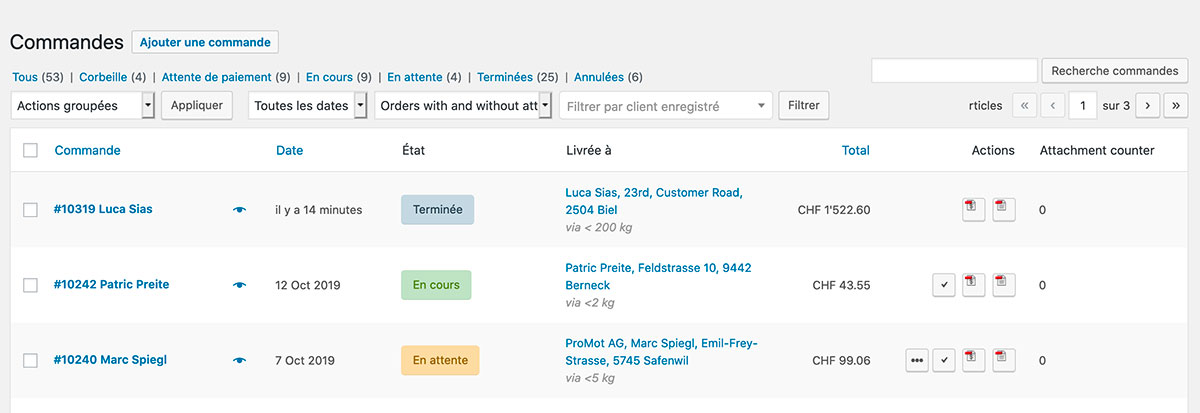
WooCommerce: Bestellungen / Commandes / Orders

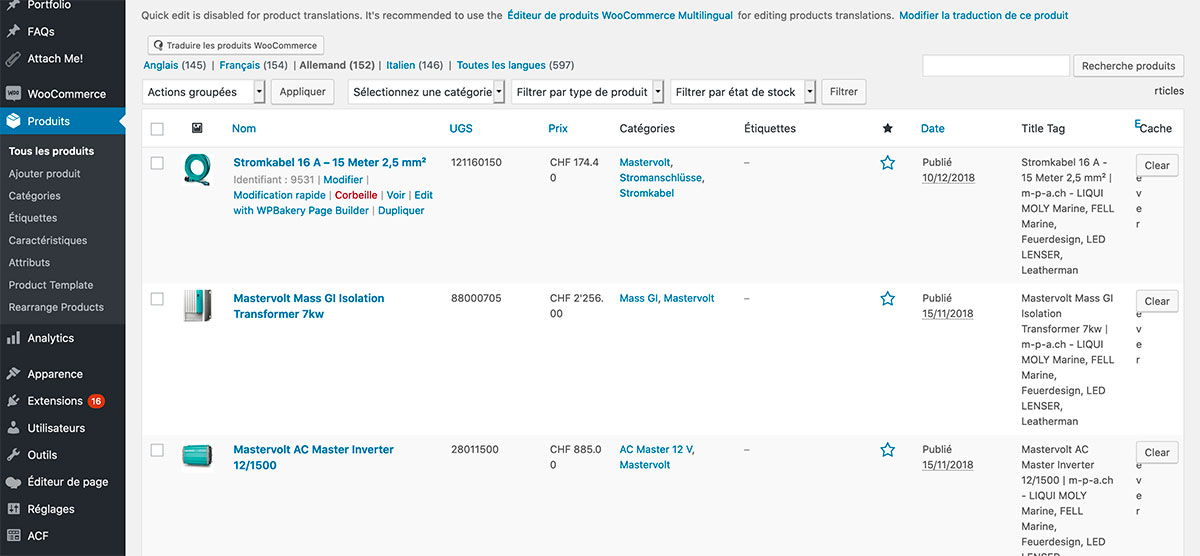
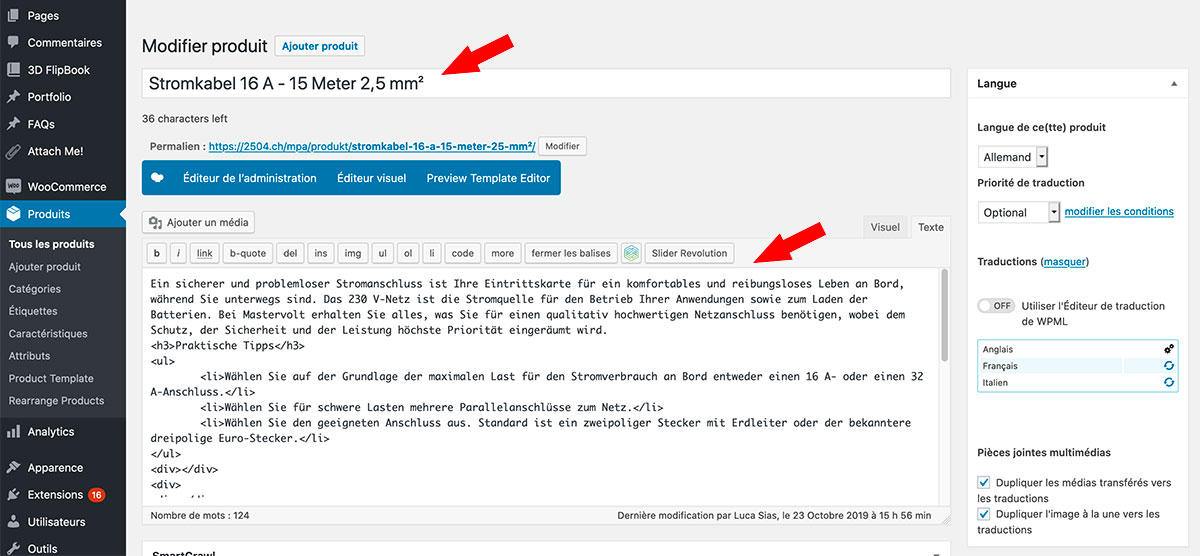
ein Artikel bearbeiten / modifier un article / to edit products

WICHTIG!
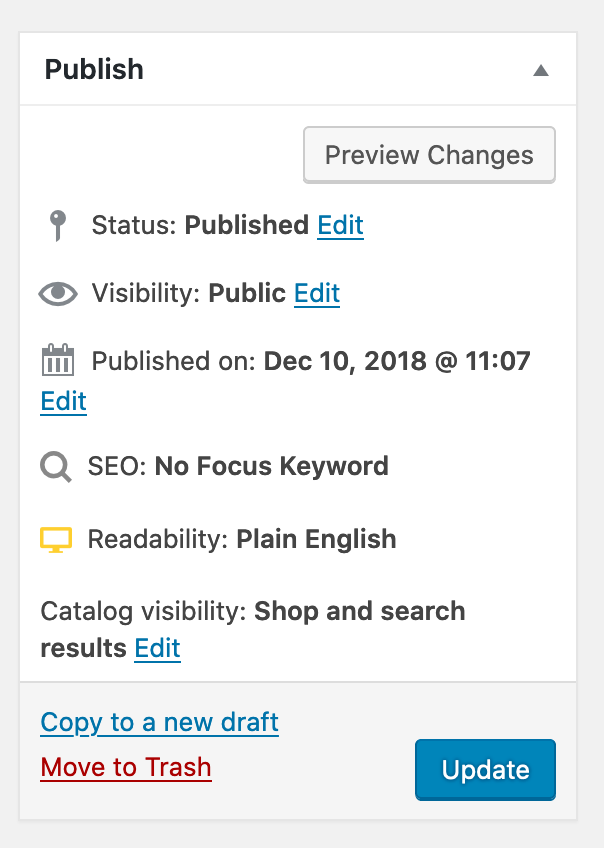
Bitte denken Sie daran, die Seite immer zu speichern, wenn Sie die Bearbeitung eines Produkts abschließen, indem Sie auf die Schaltfläche “Aktualisieren” auf der rechten Seite der Produktseite klicken.
IMPORTANT !
N’oubliez pas de toujours sauvegarder la page lorsque vous complétez la modification d’un produit en cliquant sur le bouton “Mise à jour” situé sur le côté droit de la page du produit.
IMPORTANT!
Please remember to always save the page when you complete the edit of a product by clicking on the “Update” button located in the right side of the product page.
WICHTIG – IMPORTANT
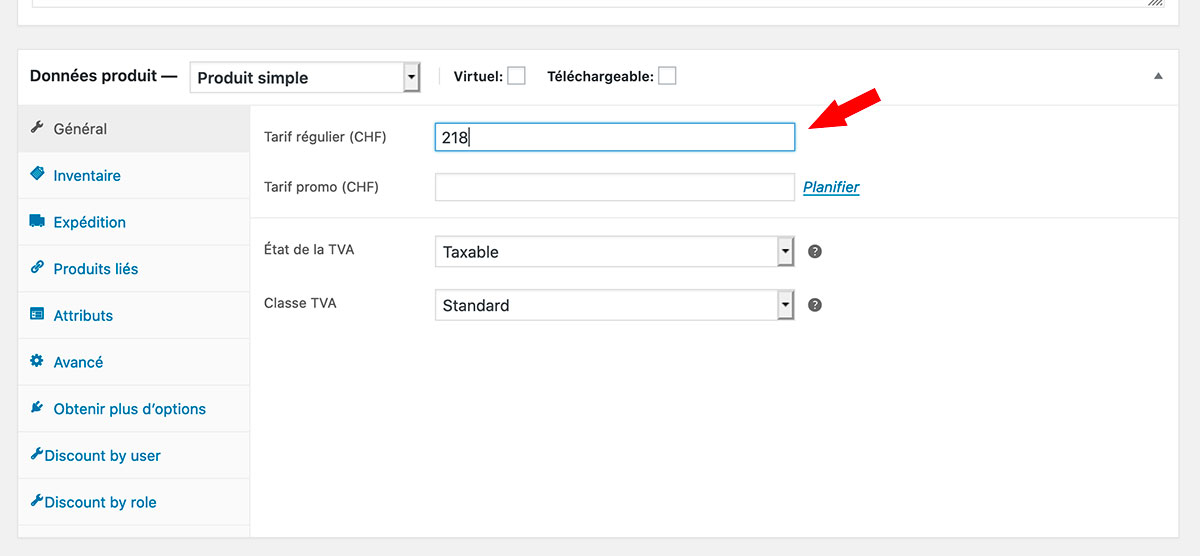
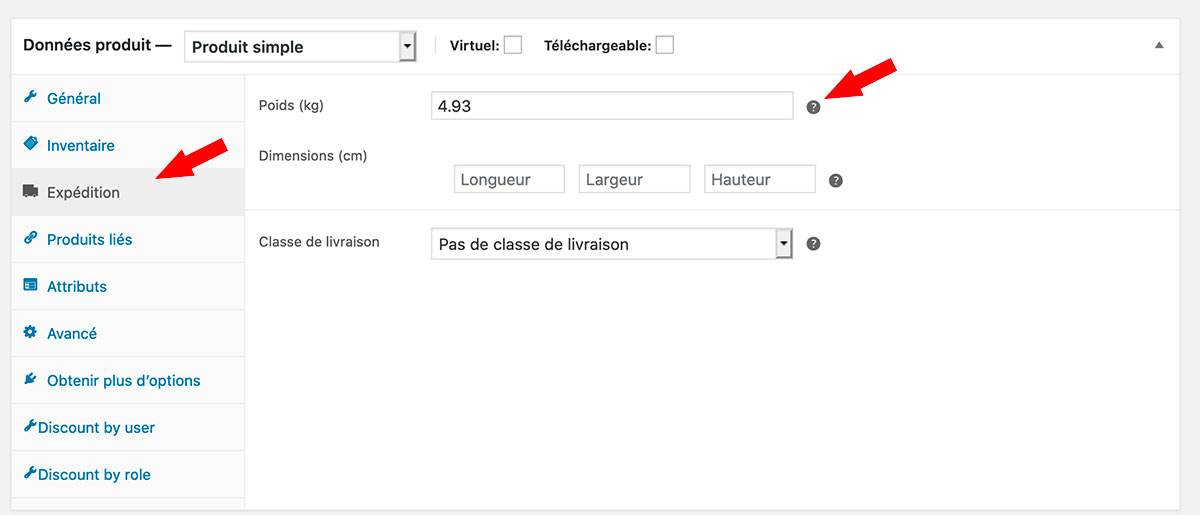
Preis, Gewicht und Rabatte müssen auf dem deutschen Produkt bearbeitet werden, Deutsch ist die Hauptsprache.
Wenn Sie die Seite nach Änderungen in diesem Registerkartenbereich speichern, werden sie automatisch in allen Sprachen aktualisiert.
Le prix, le poids et les remises doivent être édités sur le produit allemand, car l’allemand est la langue principale.
Lorsque vous sauvegarderez la page après avoir fait des changements dans cette section de l’onglet, ils seront automatiquement mis à jour dans toutes les langues.
The price, weight and discounts need to be edited on the German product, this because German is the main language.
When you will save the page after made changes in this tab section they will be automatic updated in all the languages.
